
eSIM activation
Install & activate your eSIM
via QR Code
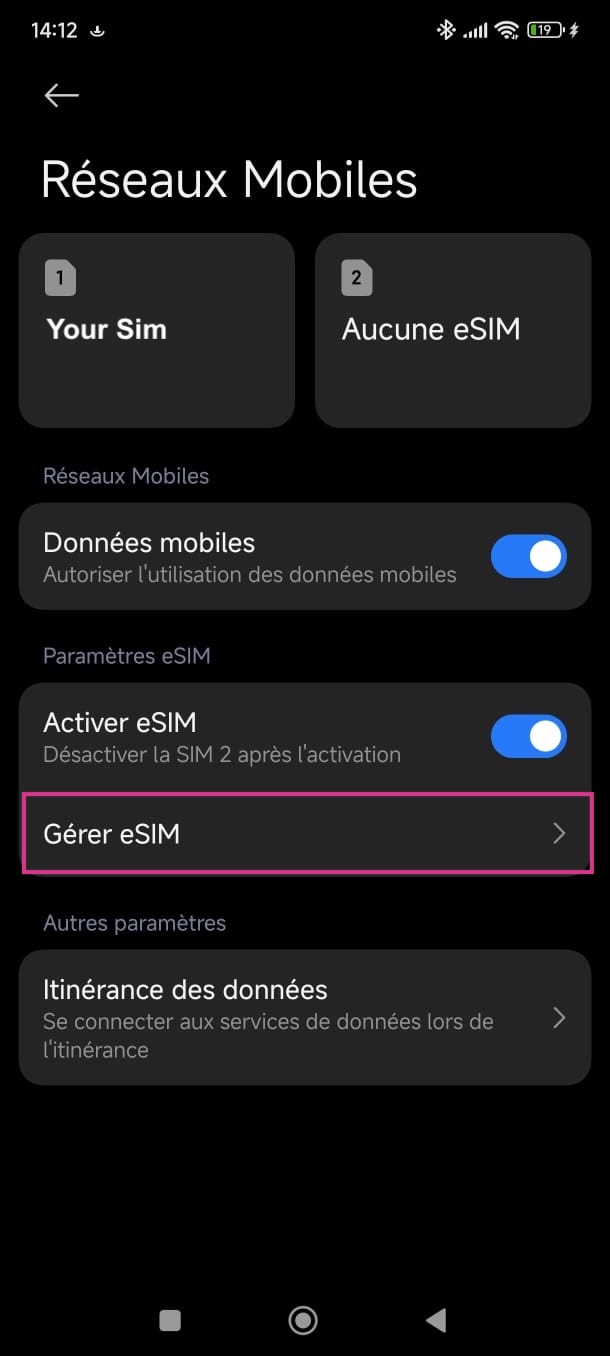
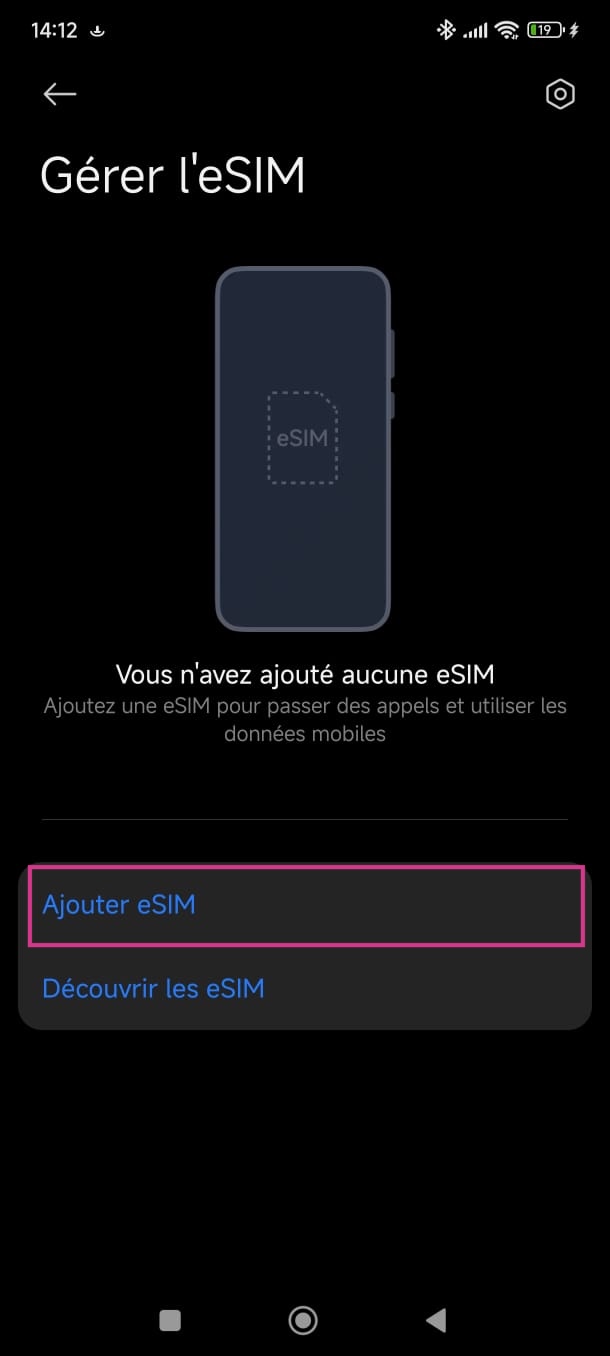
Follow the step-by-step guide for your device - activation takes less than 5 minutes.
! Before you start
- ✓ Connect your device to Wi-Fi (installation requires Internet).
- ✓ Find the MyFlySim confirmation email containing your activation QR code.
- ✓ Check that your device is eSIM compatible.
- ✓ Ideally, install the eSIM before departure so you're connected on arrival.
Choose your device
Installation on iOS - iPhone / iPad
Screenshots - scroll with your mouse wheel or the arrows to move between steps
Step 1 / 6
 1
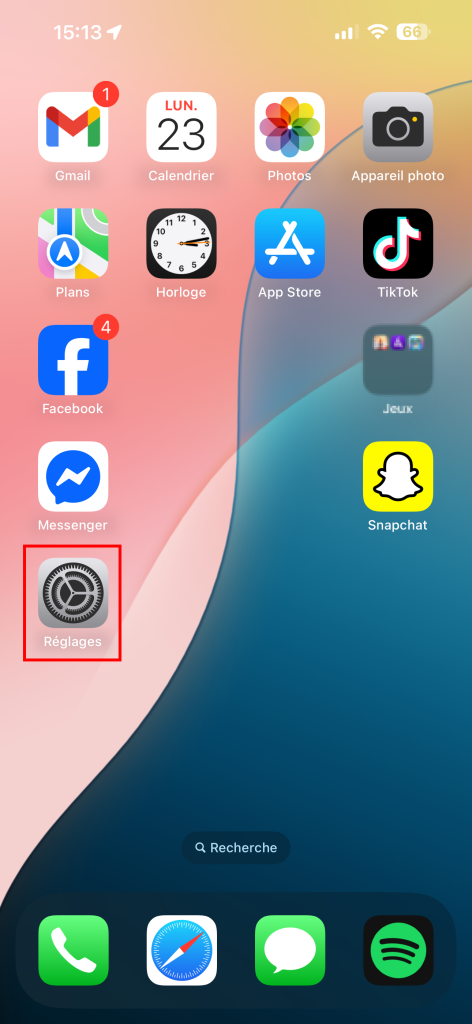
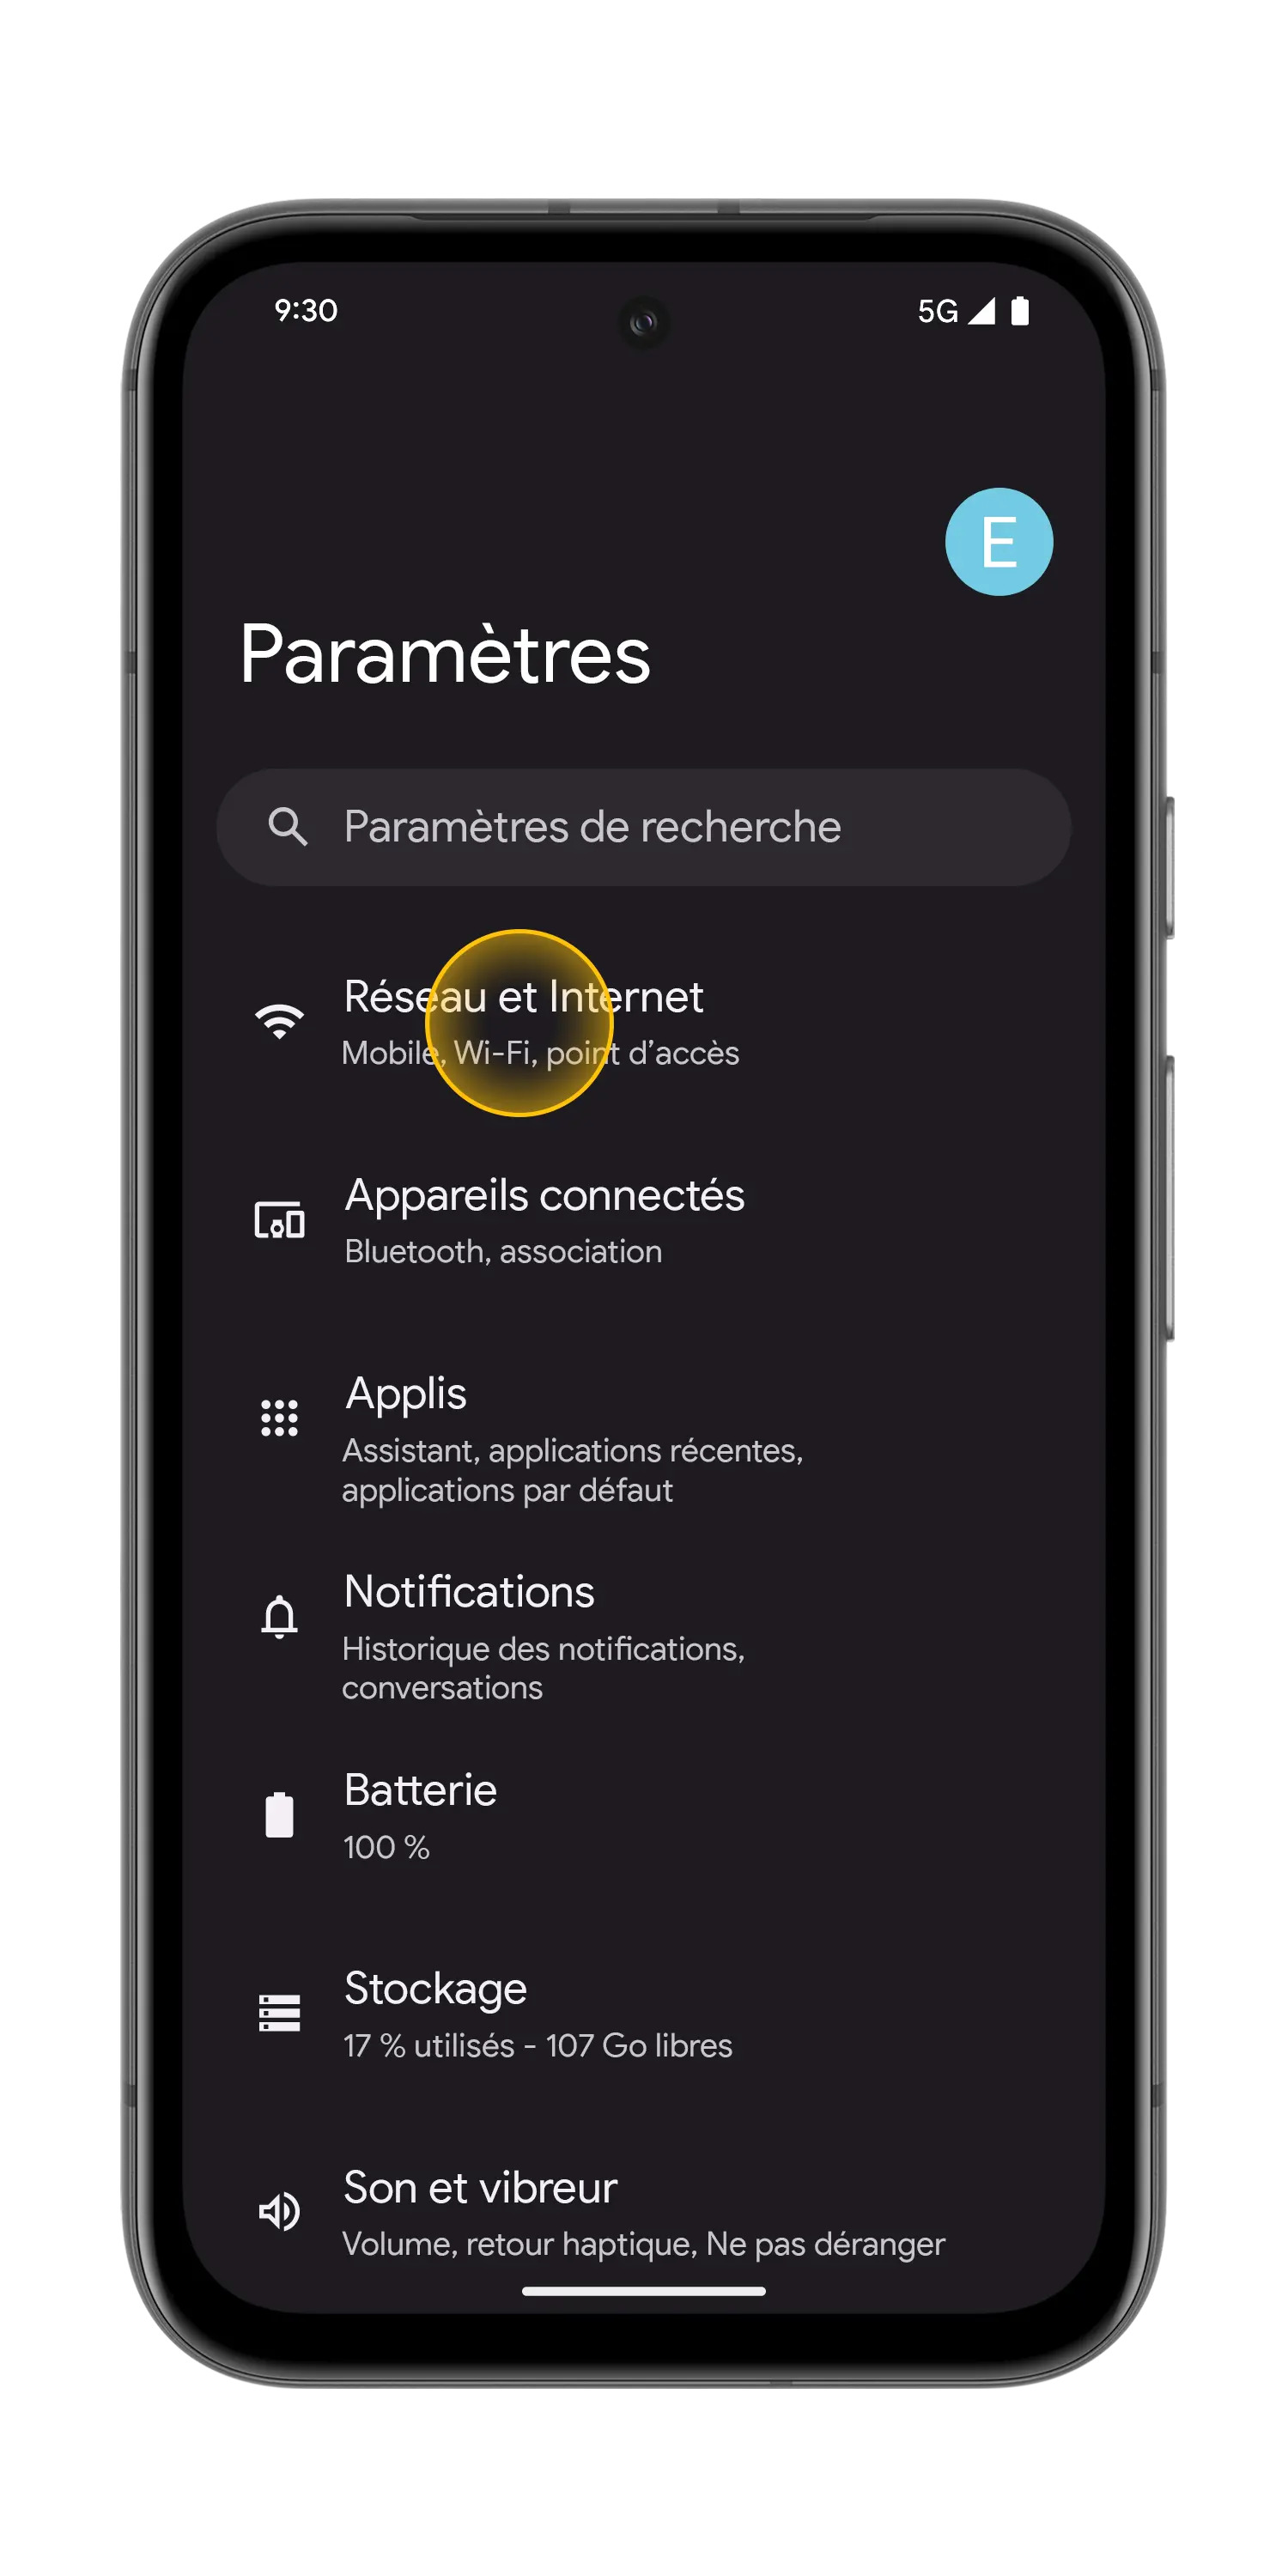
1 Open the Settings app
 2
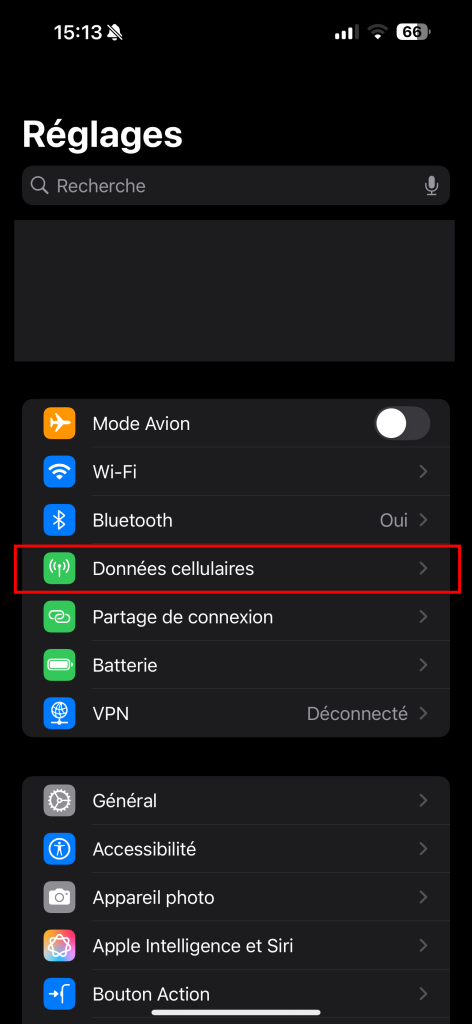
2 Tap Cellular
 3
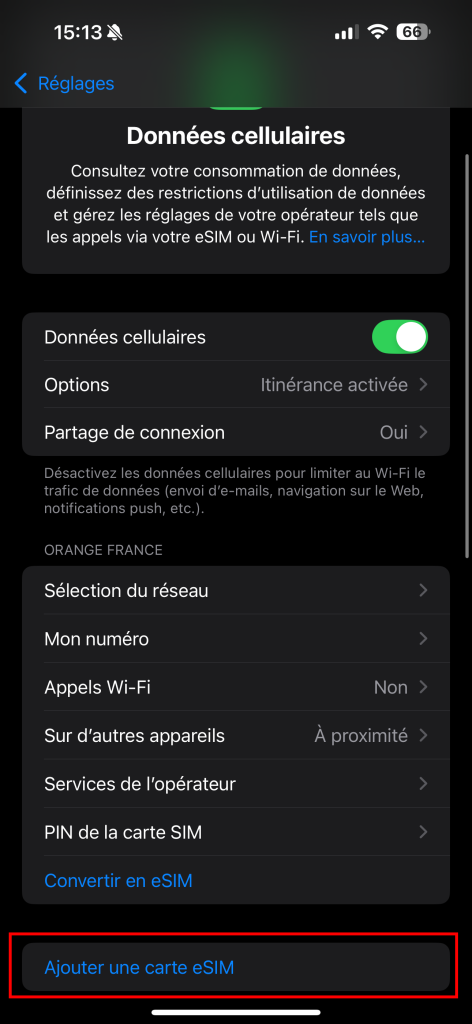
3 Add eSIM
 4
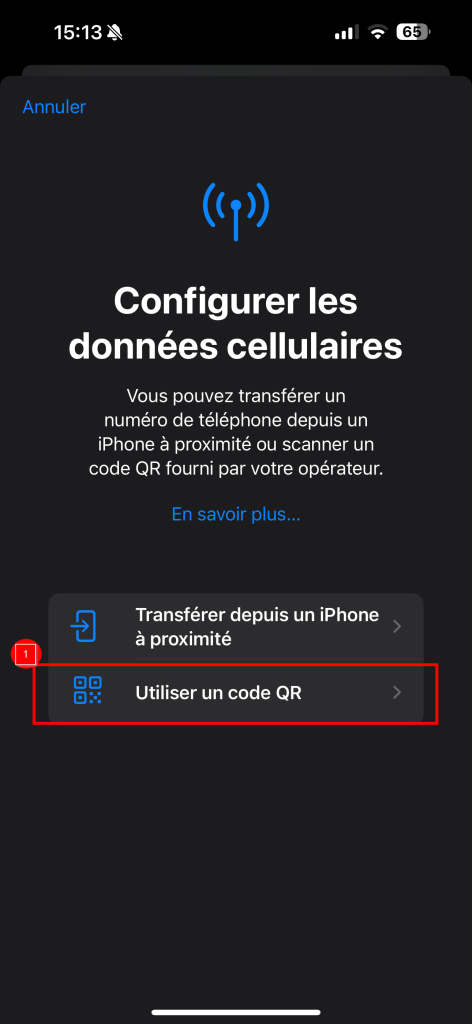
4 Use QR Code
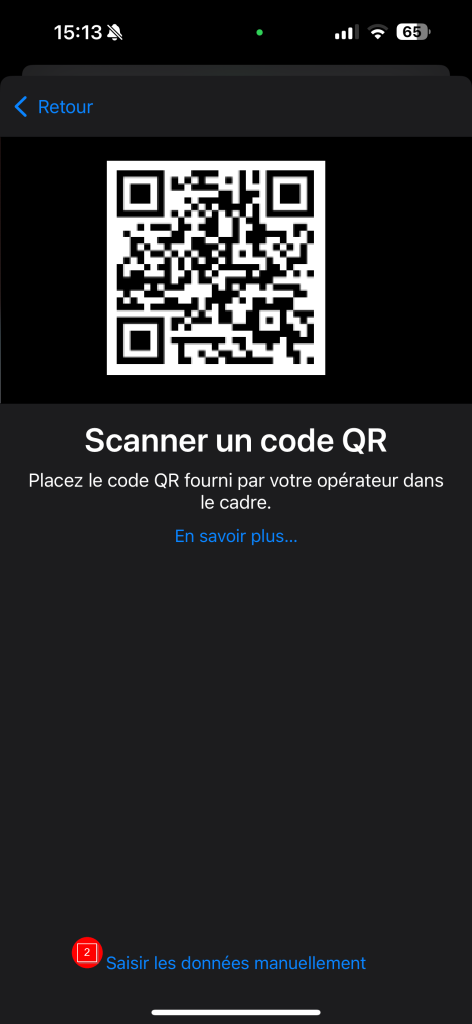 5
5 Scan the MyFlySim QR code
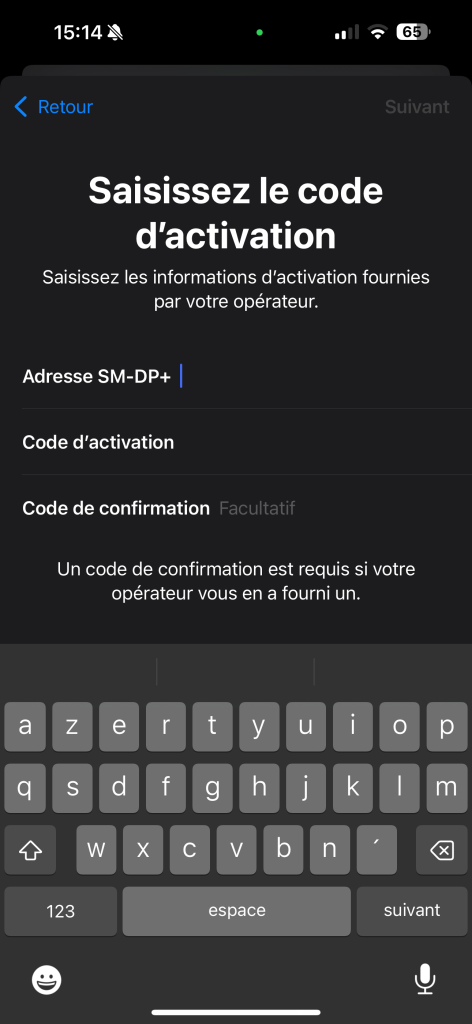 6
6 Option: enter the codes manually
- 1
Open the Settings app
From your iPhone home screen, tap the Settings app (grey gear icon).
- 2
Tap Cellular
In the Settings list, tap Cellular (or Mobile Data depending on your iOS version).
- 3
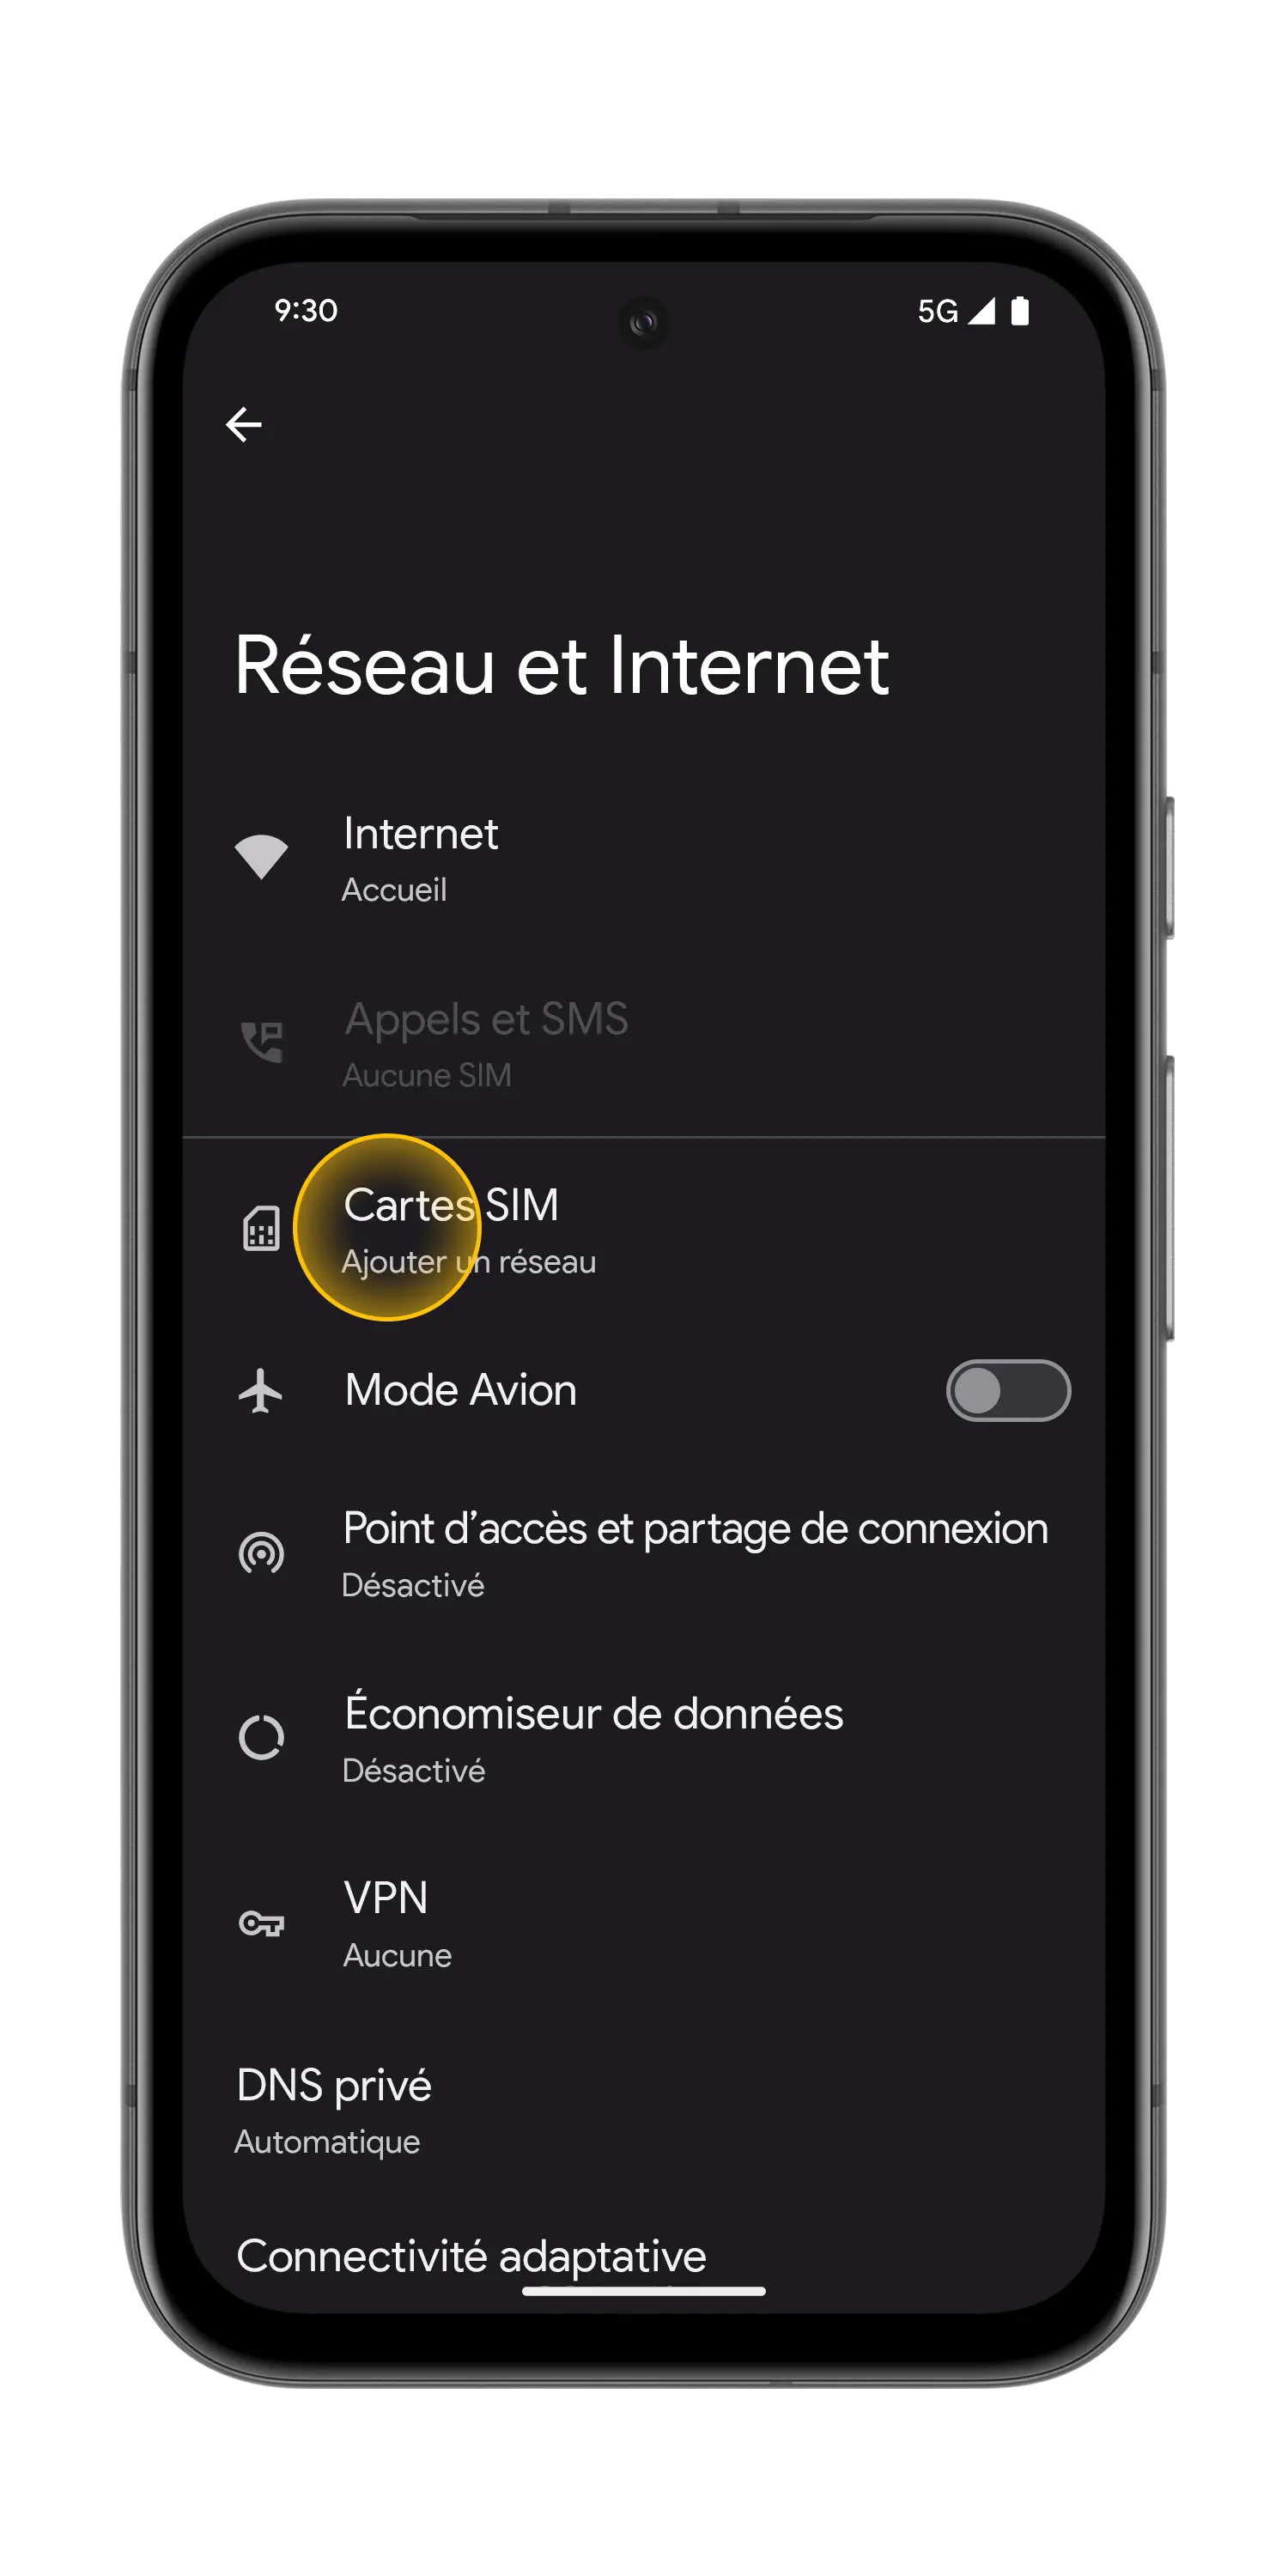
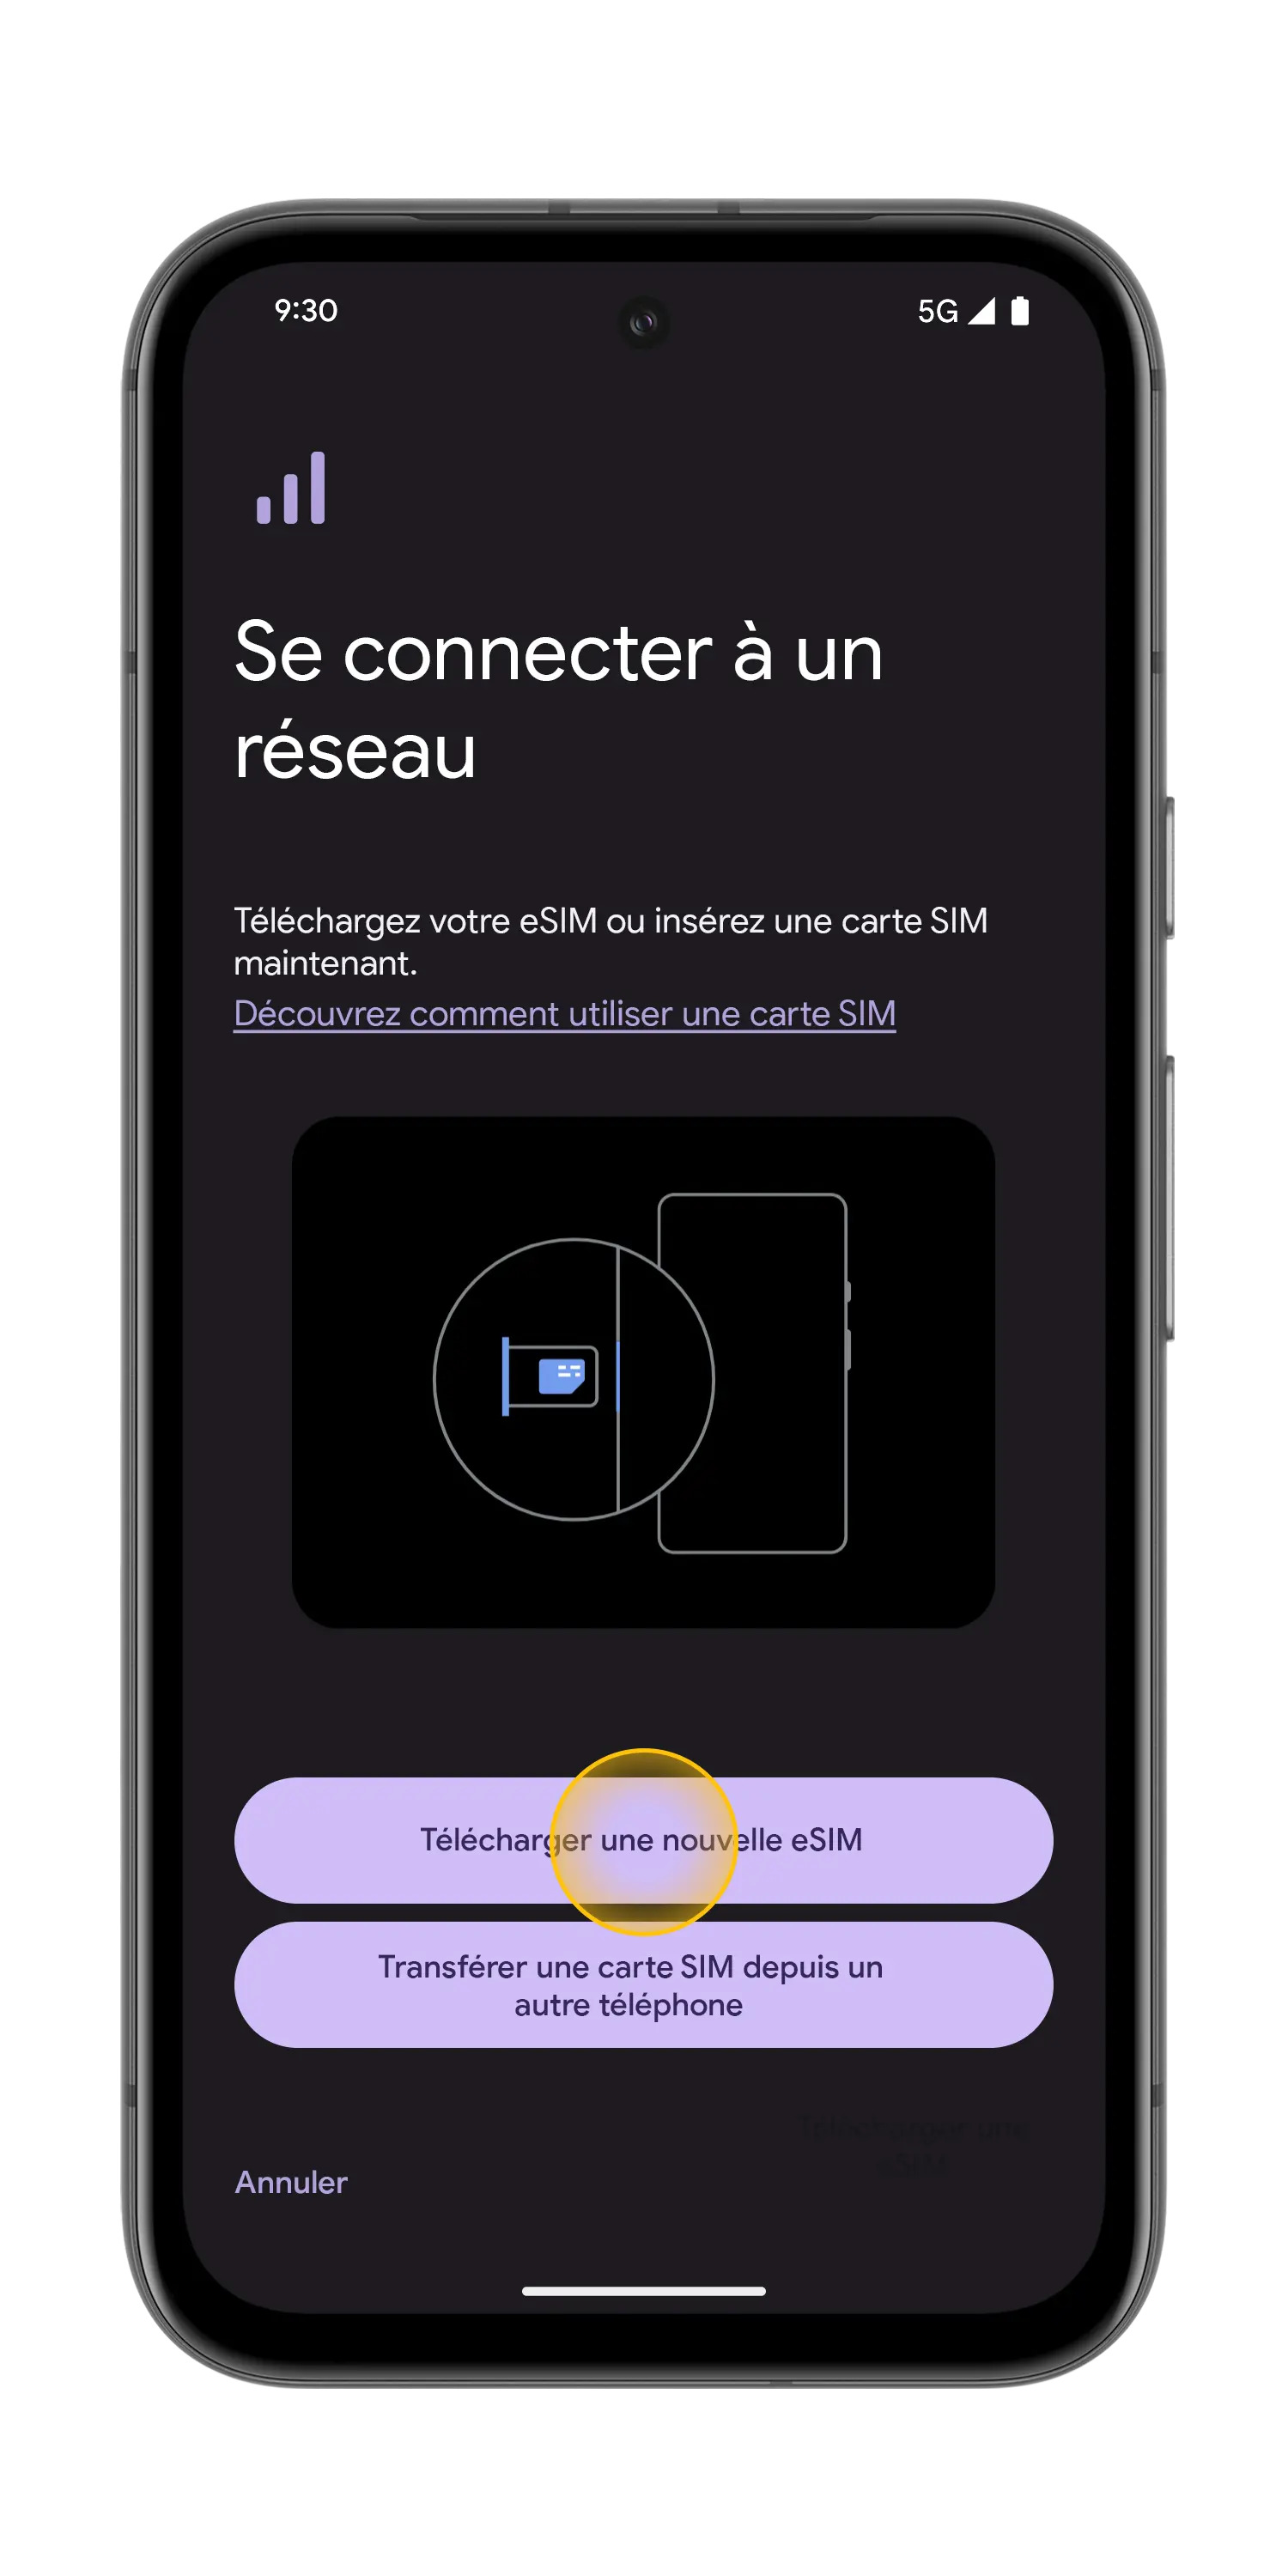
Add eSIM
Scroll to the bottom of the Cellular page, then tap Add eSIM.
- 4
Use QR Code
On the Set Up Cellular screen, choose Use QR Code. (The Transfer From Nearby iPhone option does not apply to our travel eSIM.)
💡 Easier tip: if you have the MyFlySim app installed, open it and tap "Install my eSIM" - everything happens automatically, with nothing to scan or copy. - 5
Scan the MyFlySim QR code
Place the QR code received in your MyFlySim email inside the frame. Detection is automatic. If you're already on the phone that will receive the eSIM, tap Enter Details Manually at the bottom of the screen.
💡 The easiest way is still the app: from the MyFlySim app, the "Install my eSIM" button skips all these manual steps. - 6
Option: enter the codes manually
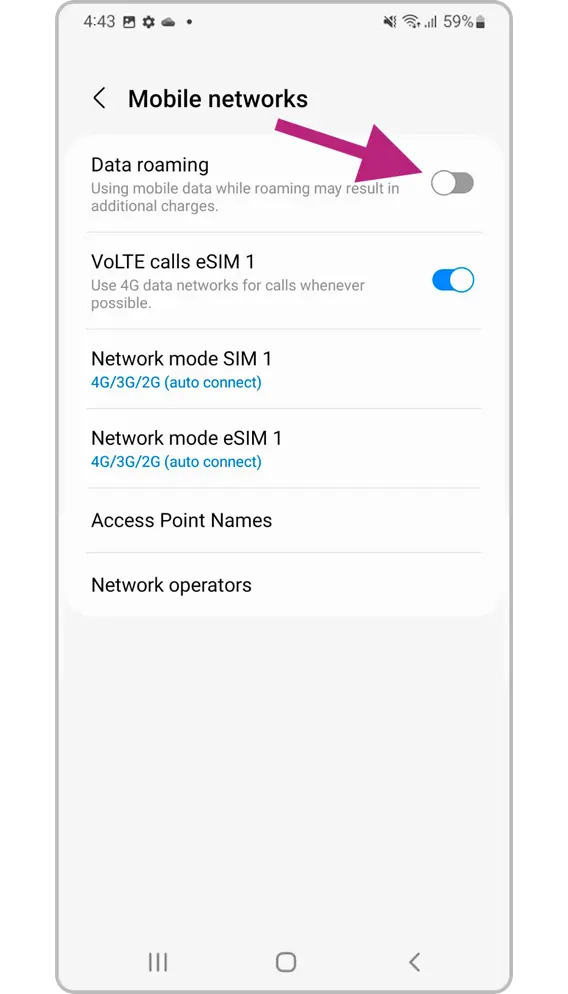
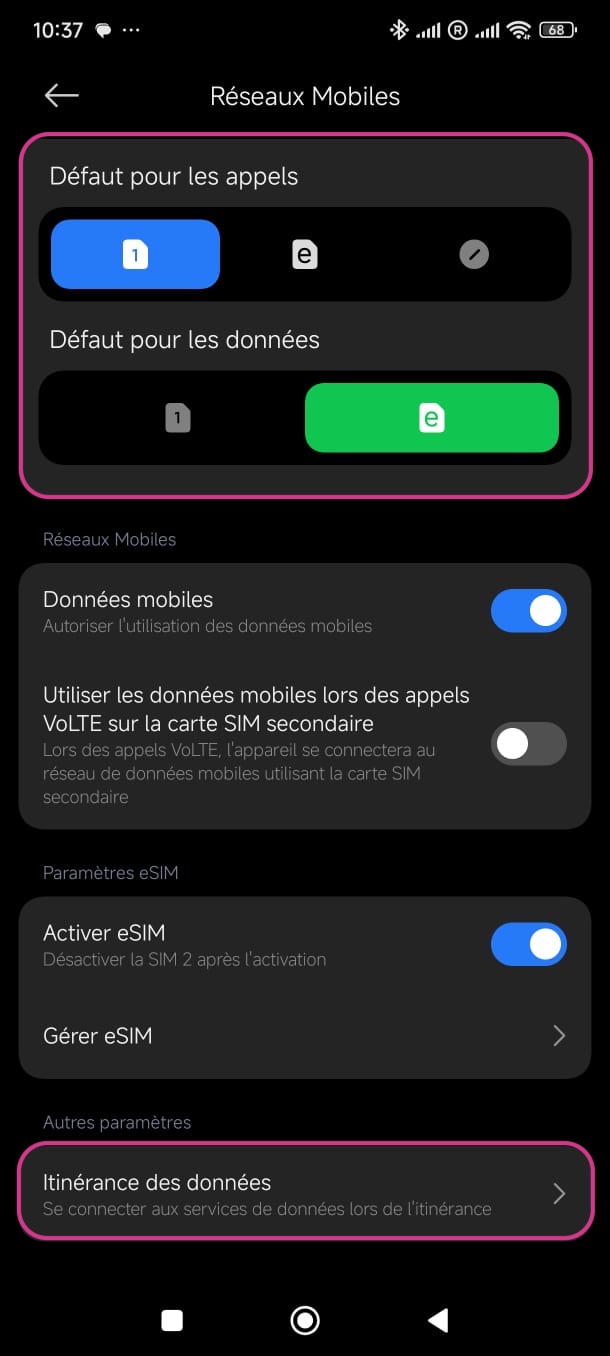
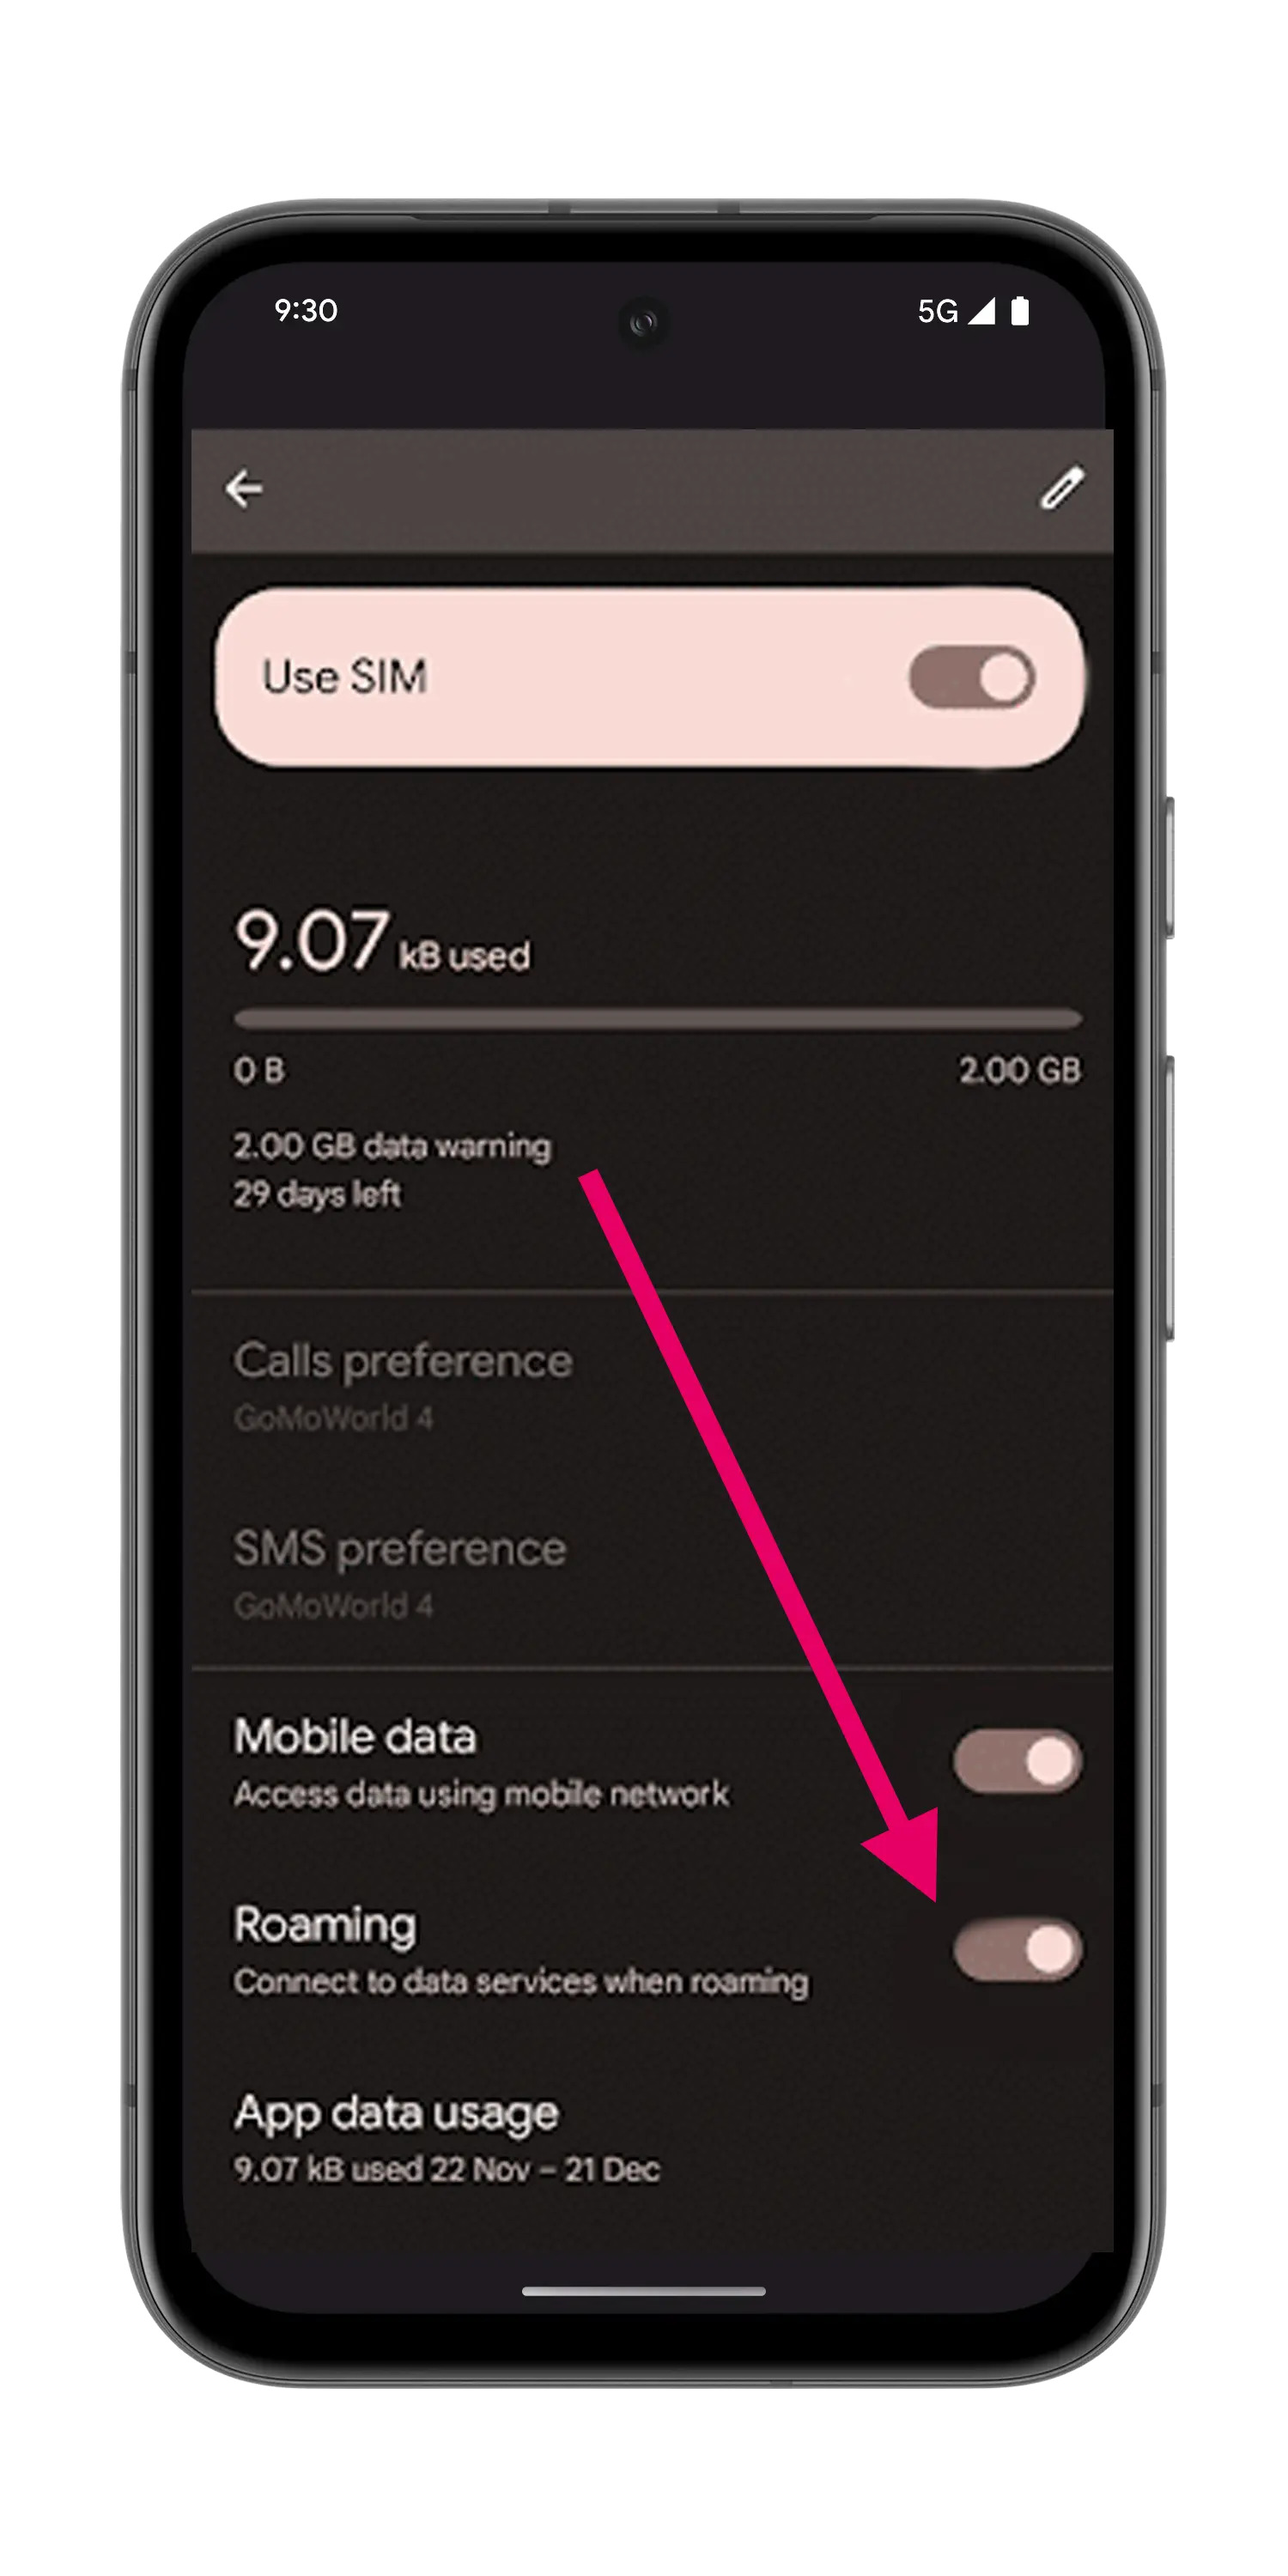
If you chose manual entry, copy and paste the 3 details provided in your MyFlySim email: SM-DP+ Address, Activation Code, and possibly Confirmation Code (optional). Tap Next to install the eSIM, then enable data roaming in the settings of the new line.
Need help?
If you run into a problem during installation, our support team is here for you.